The 1-hour-a-month AI workflow I used to grow a winery from $15K to $80K in monthly revenue

Small, local restaurants have an endless array of tasks to worry about: taking reservations, managing staff, closing out the register, menu planning and the 100 other things that come along with the gig.
Oh, and you also need a never-ending stream of content for social media algorithms. Content production can be a full-time job, and most local business owners don’t have the budget.
That’s why I built this workflow for an Austin-based winery named Wanderlust. Before I built this process, the winery was bringing in $15,000 a month in reservation revenue. Within a few weeks of running this system, that number hit $80,000 a month, driven almost entirely by organic Instagram Reels traffic.
The frequency allowed us to quickly iterate on messaging and offers so we could find what works.
(For example, we realized the posts targeted to couples or corporate event planners weren’t resonating as much as the ones for women. Especially groups of friends coming in to catch up over a bottle and enjoy the restaurant’s nine-course grand tasting.)
We used this method to produce Reels for that audience and one eventually went viral locally, driving group bookings immediately.
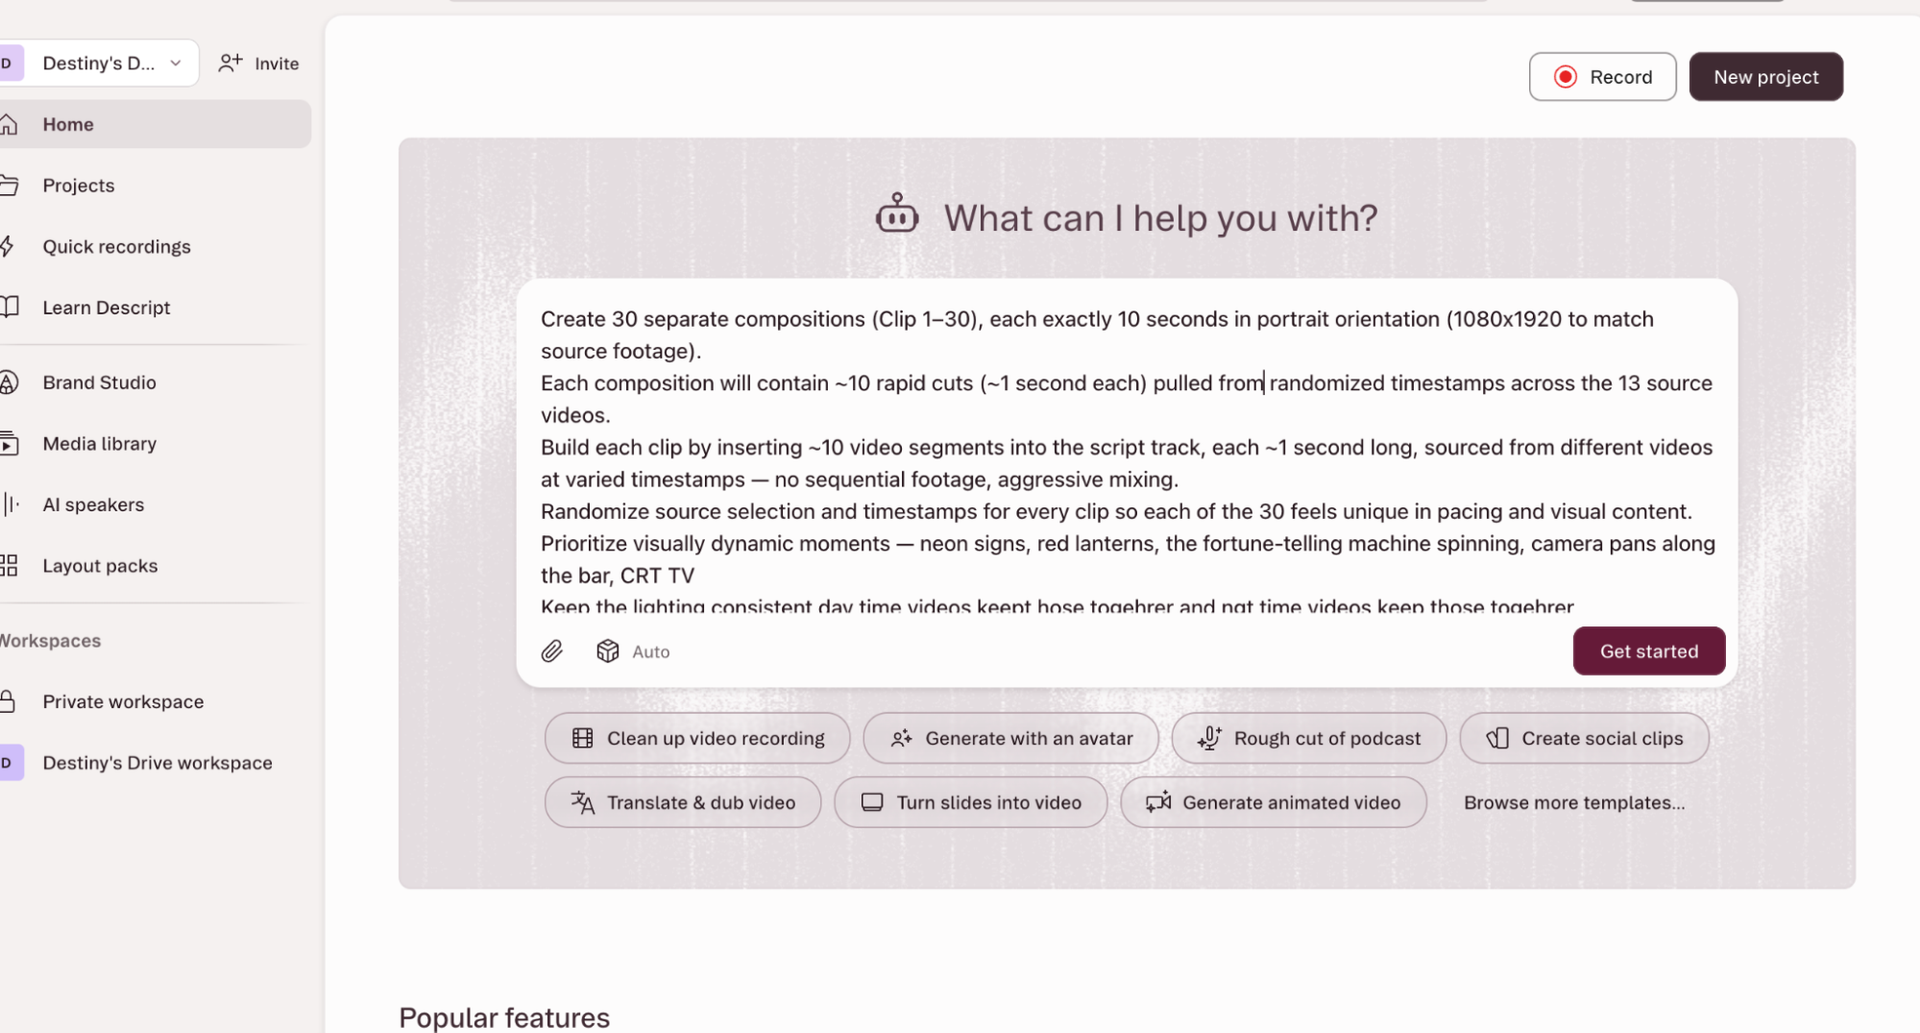
This post walks you through the exact workflow, step by step. By the end, you’ll be able to create, write, and schedule 30 unique Instagram Reels every month in about one hour—without any of them sounding like a copy of the last one.
The first half of this article covers the one-time setup.
The second half walks you through the monthly workflow—generating, editing, approving, and scheduling 30 Reels in under an hour.
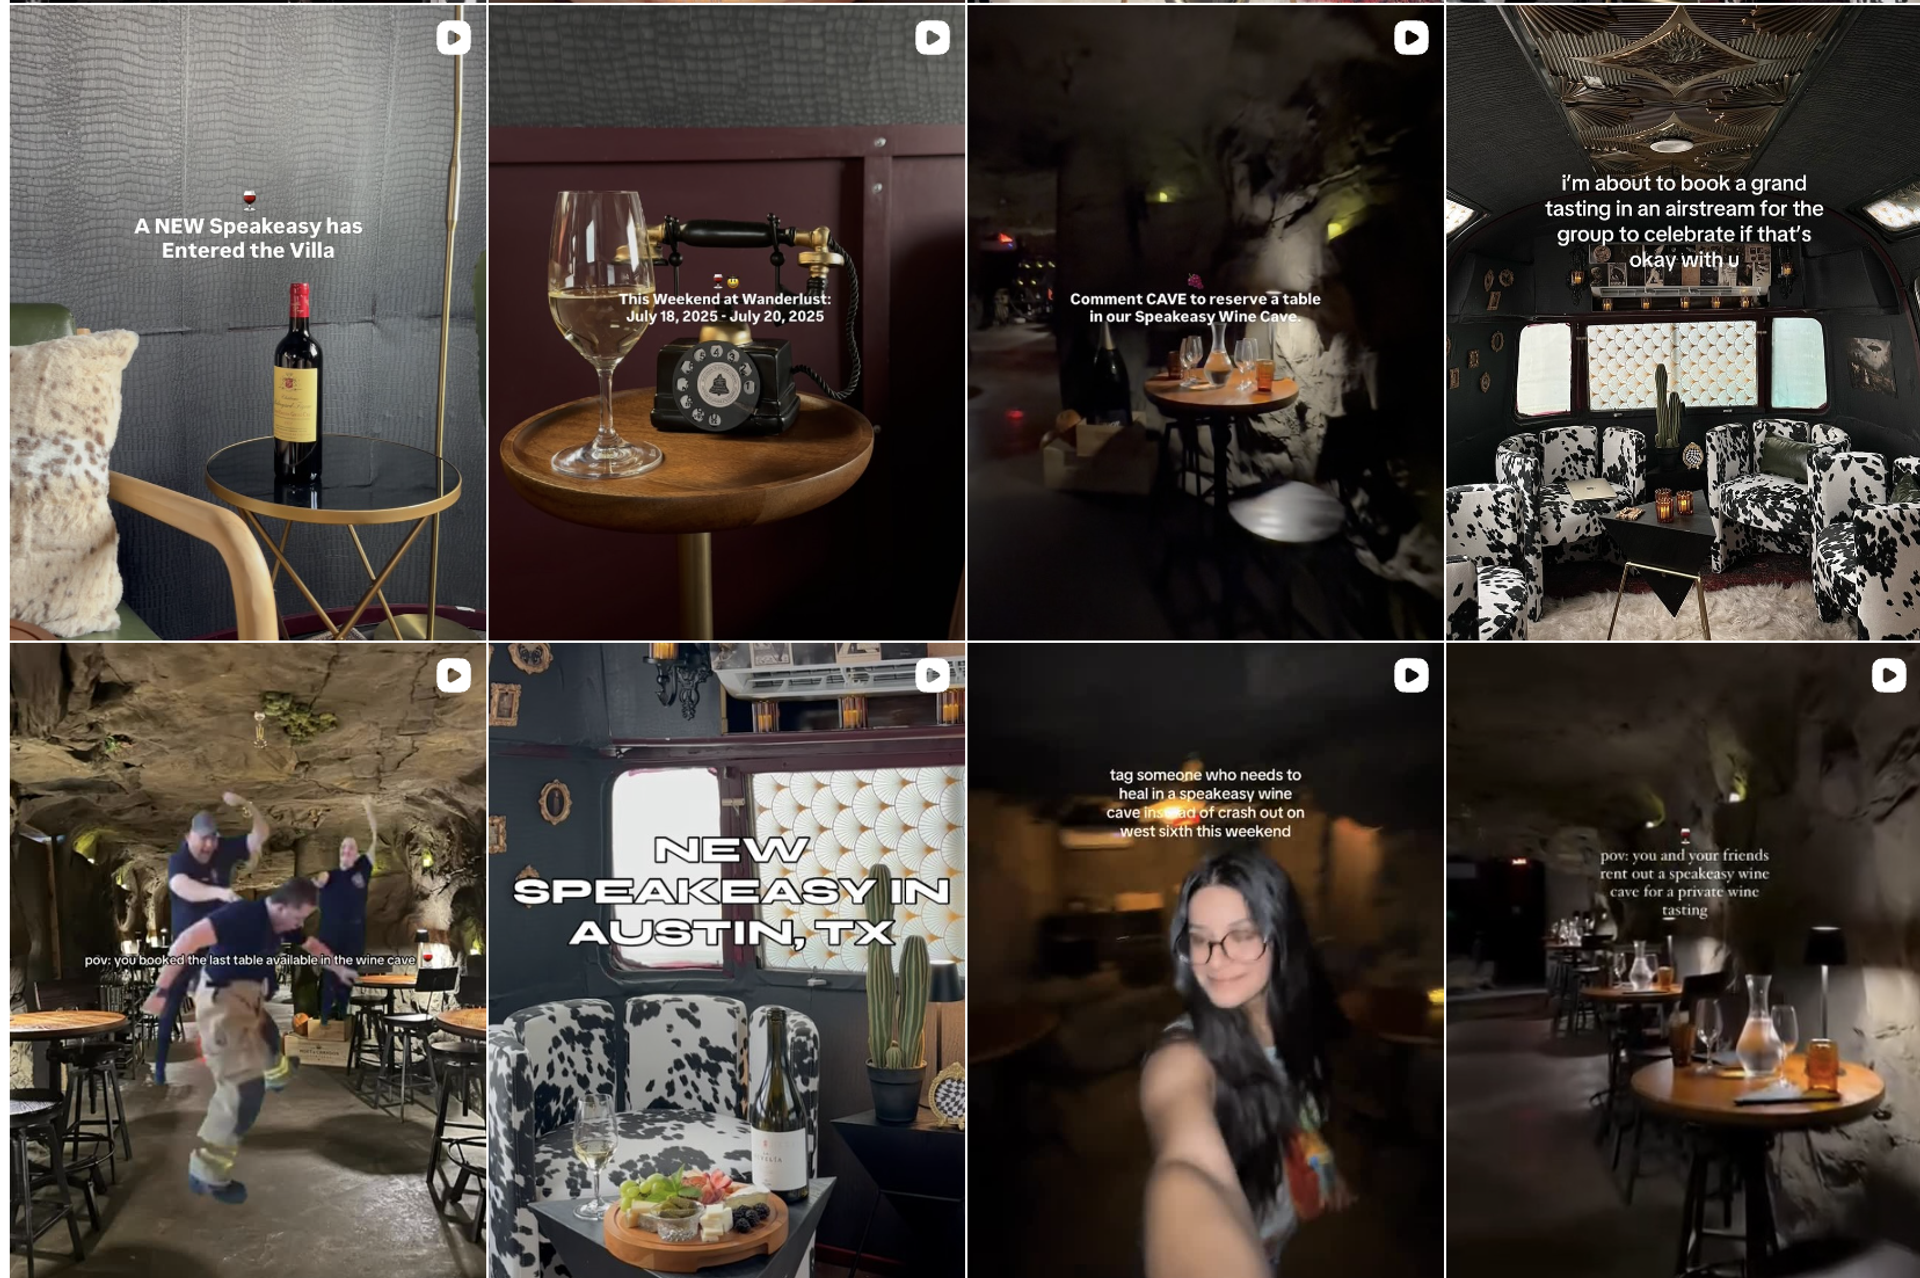
A sample of some of the Reels we made using this system.
How it works
This workflow takes raw footage from your phone, generates captions for each video, edits them, and then schedules them to be posted. You can focus on the creative side and less on moving things between systems.
It’s a Google Apps script that takes raw footage, lets you input a few variables such as your monthly event calendar, uses AI to edit and generate captions, asks for your approval, and then drops it into your social media scheduling service. The entire system uses Zapier as an orchestrator.
After you set up, your workflow will look like this:
- Open the Google Sheet
- Click “Generate 30 Captions.”
- Approve the ones you want to use.
- Upload the posts and videos to Buffer.
For the winery, this meant 30 Reels going out every single month without fail—each one driving people to a reservations page. Some of them went viral. When that happened, we paid attention: what was it about that clip, that offer, that hook that made it take off?
Then we took what worked and built it back into the system. That feedback loop is what moved the revenue from $15,000 to $80,000 a month for Wanderlust.
Making 30 Reels in less than an hour
The workflow takes a bit of set up, but once it’s in place, you’ll ship 30 reels in less than an hour.
Tools you’ll need:
| Tool | What it does | Cost |
| Google Sheets | Home of the process | Free |
| Claude | Writes captions | Pay as you go |
| Buffer | Scheduled posts | $6/month |
| Descript | Edits videos and adds text | Enterprise plan (for API) |
| Zapier | Runs automation | Free |
Step 1: Build the system’s “brain”
Before you open a single tool, you need to give it a “brain” so it knows what is unique about your business. This is also useful for AI workflows beyond this one.
At Wanderlust, we built our brand guide from scratch by working through a few questions:
- Who were our actual customers?
- What offers were we pushing in the space?
- Which of those offers were making us the most money?
For example, we realized our highest-margin bookings were buyouts of our speakeasy wine cave for birthdays, anniversaries, and bachelor and bachelorette parties. (And those bachelorette buyouts had a habit of turning into wedding bookings a few months later at our larger locations.)
Once those were written down explicitly, we had specific things to point Reels at, and later, when we started running paid ads, the same brand guide doubled as our audience-targeting cheat sheet.
Another example of a brand guide is one I made for Lovebirds, an actual bar in Austin. Here’s what that list looks like:
- Food Trucks: Three rotating trucks on-site
- Seating: Outdoor, indoor, and patio
- Dog-Friendly: Yes, dogs welcome everywhere except Tuesday comedy nights
- Tiki Tuesday: Happy hour all night (not just until 7pm) + $5 off all Tiki drinks
- Stand-Up Comedy Night: “Stand-Up Comedy for Hot People”—every Tuesday
- Daily Happy Hour: Until 7pm every day—$2 off the entire menu
- Salsa Night: Every other Thursday
That’s it. Bullet points are fine. Claude uses these overrides along with your brand guide to write each caption.
- Bad guidance: “We have great drinks and a fun atmosphere”
- Good guidance: “Tiki Tuesday happy hour all night, $5 off all tiki drinks”

Step 2: Shoot and organize your raw footage in this format
With your brand guide and offerings in hand, grab your footage. Short form video is its own artform (that’s less our focus here, but if you’re interested in a deep dive there, there are endless Reddit posts and YouTube videos on the topic). Some advice from our “shoots”:
- Having a real person in frame added warmth and saved us from trying to make empty rooms look inviting. (Using staff as stand-ins is OK!)
- Shoot specifically to bring to life what your brand guide mentions. For us, it was bachelorette buyouts, the friendship-date angle, the wine cave for private bookings. We weren’t trying to capture everything about every location; we picked a handful of offerings we wanted to drive revenue against.
- You don’t need to hire a videographer; walking through the space casually using your phone is enough.
Shot suggestions
- Walk slowly through every room, the bar, and the patio
- Close-ups of signature drinks, food, and anything visually interesting
- Crowd shots during events (get permission from staff first)
- Your exterior: front door, signage, any outdoor seating
- Ambient detail shots: neon signs, candles, bar surfaces, lighting
Aim for 15–20 clips, roughly 15–30 seconds each. Variety matters more than volume: different rooms, different times of day, different angles. For the winery, we built the entire content library from a single afternoon of footage. We used the footage we shot for eight months.
How to organize them:
Create a folder on your phone and name your clips using this format: [BusinessName]-[ContentType]
Step 3: Paste this code for instant Google Sheet magic
The Google Sheet is the command center, and the thing you can hand to team members once you have it all set up.
- Create a new Google Sheet spreadsheet. Name it [Company name] Reels Pipeline.
- Click Extensions → Apps Script. Paste this code into it.
- Press Ctrl+S to save, name the project, select buildPipeline in the function dropdown, and click Run ▶.
- Authorize using your Google Account.
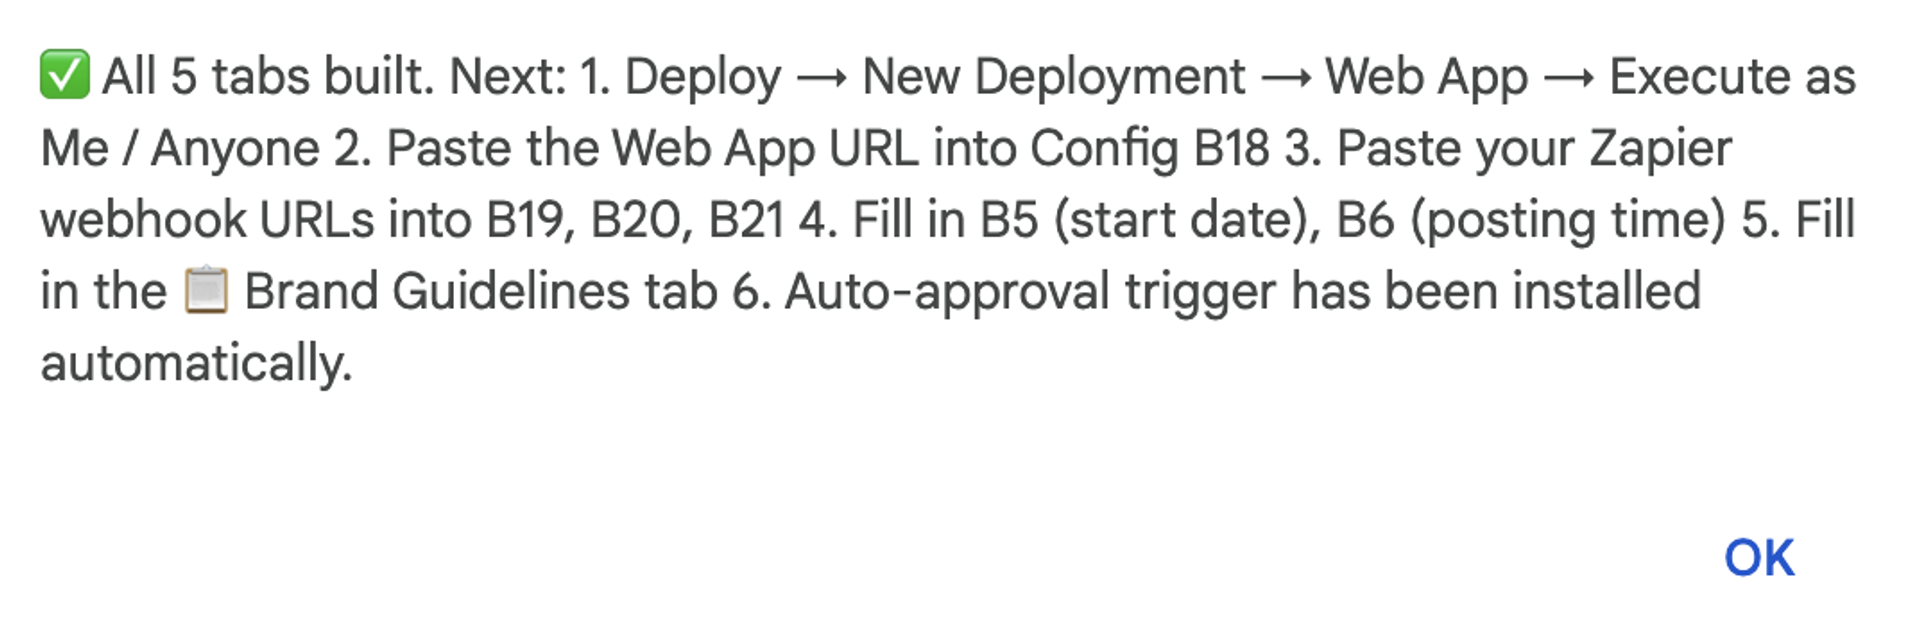
- Head back to your sheet. You’ll see a pop-up notifying you all tables have been built out.
- Head back to the Apps Script, select onOpen in the function dropdown, and click Run ▶.
The confirmation message
This creates some templated language you’ll need to change:
- B5 → Your campaign start date in YYYY-MM-DD format (e.g. 2026-06-01)
- B6 → Posting time in HH:mm format (e.g. 10:00)
- B18 → Web App URL (you’ll get this in Step 5b after deploying)
- B19 → Webhooks by Zapier URL
- B20 → Generate Captions Webhook URL (the URL of the Zap you built in Step 3)
- B21 → Send to Descript Webhook URL (Enterprise only — leave blank otherwise)
Step 4: Few clicks to a full web app
Before anything actually runs, Zapier needs a way to post the generated captions back into your sheet. You give it one by deploying your Apps Script as a Web App. If this sounds difficult, don’t worry. It just gives permission for your app to run and only takes a few clicks.
- In the Apps Script editor (still open from before), click Deploy → New Deployment in the top-right corner.
- Click the gear icon next to “Select type” and choose Web app.
- Set Description to “Reels Pipeline,”
- Execute as: Me, and Who has access: Me.
- Click Deploy. A URL appears — copy it and paste it into Config B18 in your sheet.
Without this step, the Generate 30 Captions button fires but nothing comes back. The Web App URL is the address Zapier writes the captions to.
Step 5: Copy these instructions into Zapier
With these various systems and data sources, something needs to help them “talk” to one another. That’s where Zapier comes in. Zapier will act as our engine, moving our workflow in the right sequence. It also has powerful AI tools for troubleshooting anything that comes up.
You’ll need to set up a few connections there on its App Connections page.
- Claude. Get your key here. In Zapier: click + Add connection → search Anthropic → paste your key → save.
- Descript: Get your token here. descript.com → Settings → API Tokens → Create Token (Skip this step if you’re not on the Enterprise plan. You’ll copy and paste one prompt manually instead of having it fire automatically.)
- Google Sheets, Gmail, and Google Drive. In Zapier: + Add connection → search each of the three → authorize with your Google account → save.
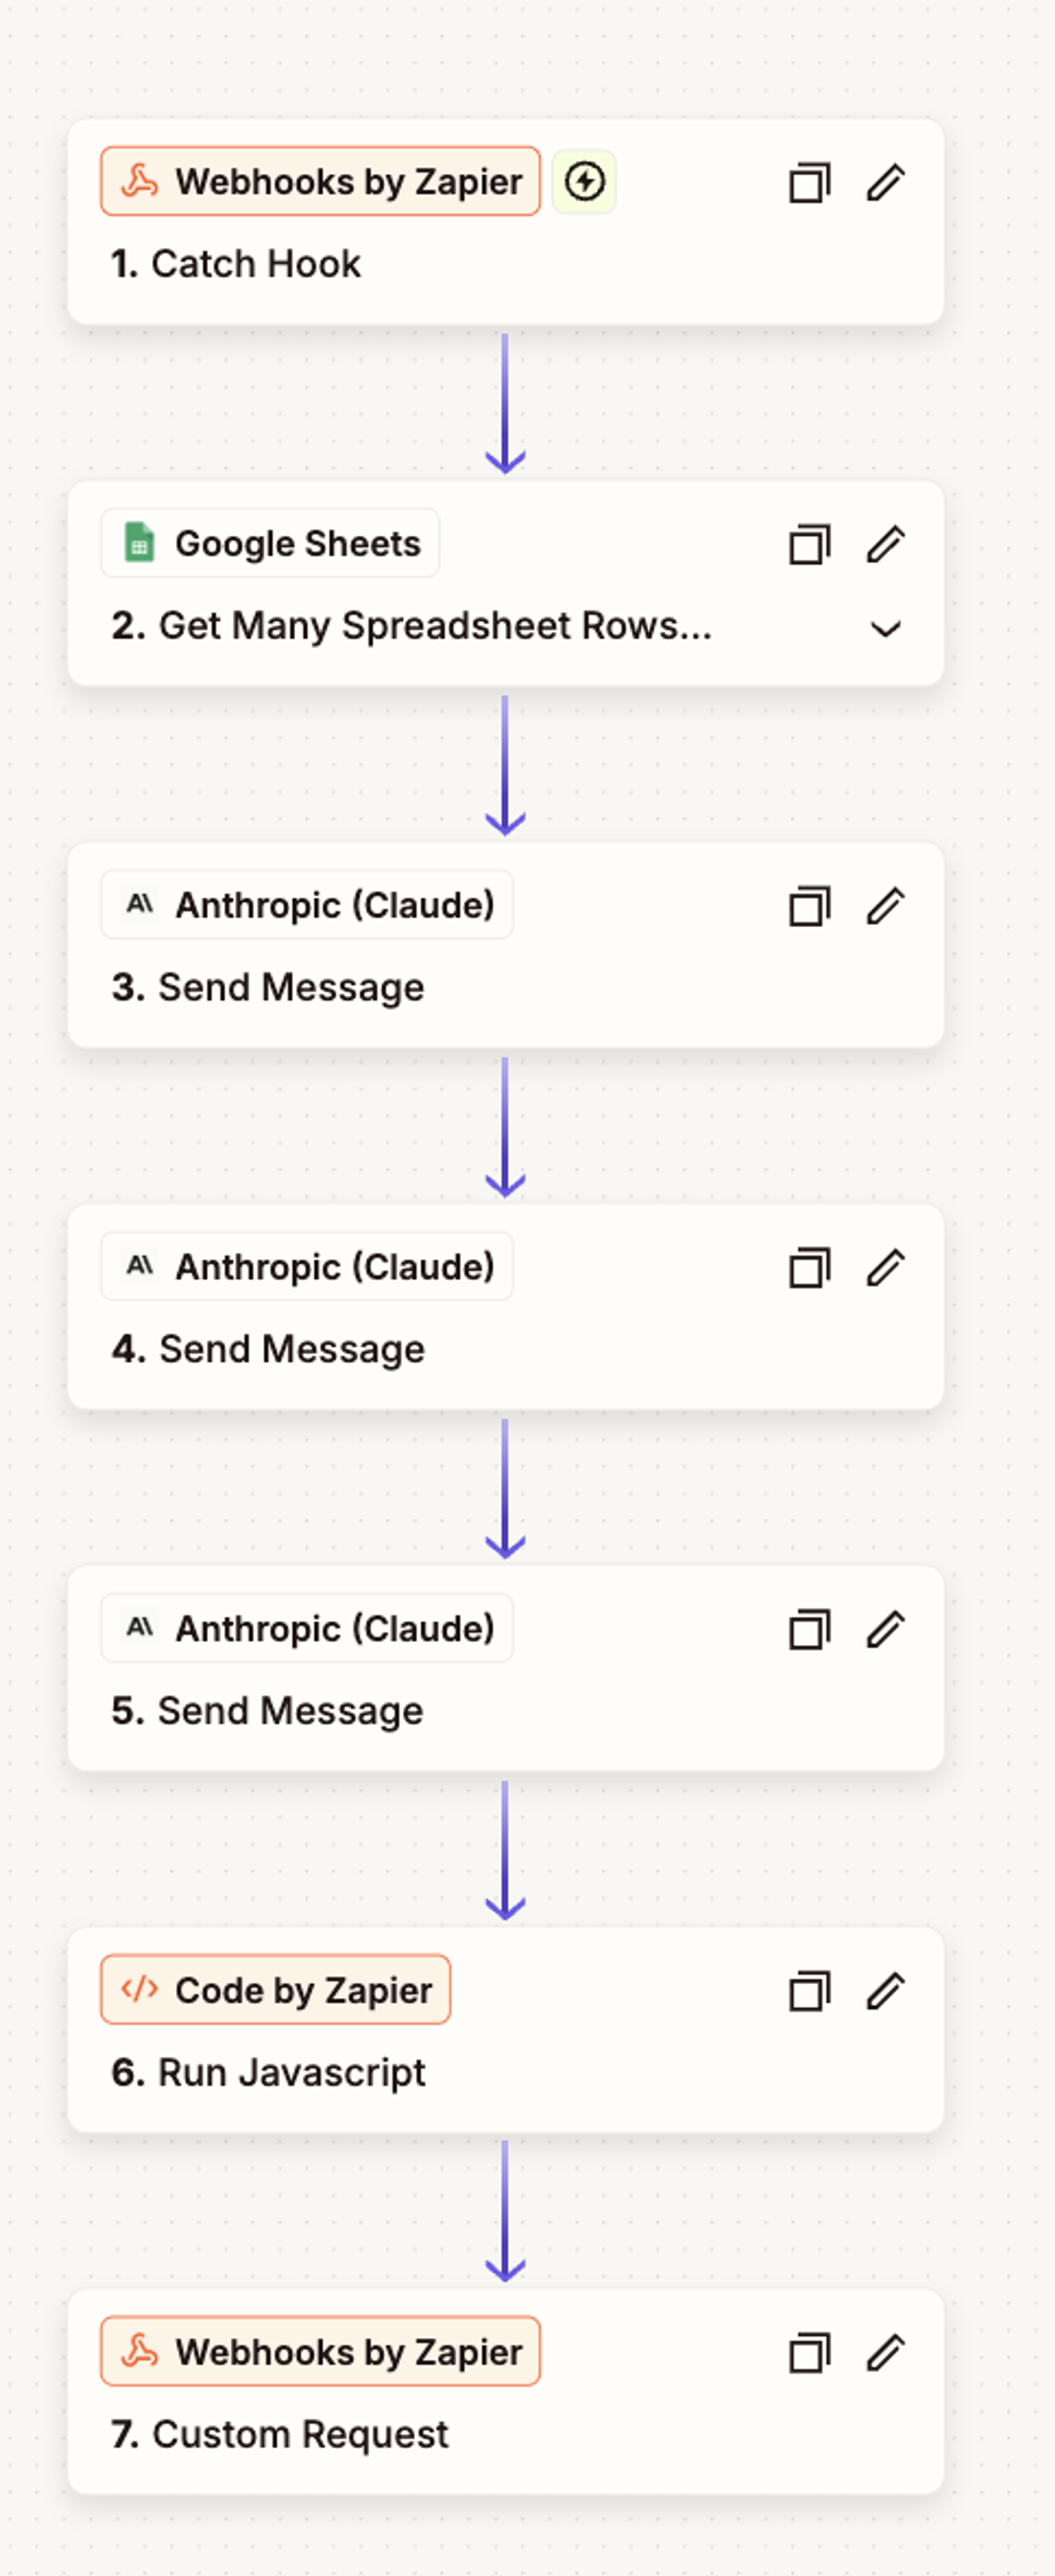
In Zapier, click Create Zap and build the following seven steps in order. You can also copy and paste these instructions into Zapier Copilot to have it built out for you. You may have to answer a few questions such as providing the Google Sheet URL.
Turn it on and connect the sheet
Once all 7 steps are configured, turn the Zap on. Then:
- Copy the webhook URL from Step 1
- Paste it into your Config tab, cell B20
That’s it. The Generate 30 Captions button in your sheet now has somewhere to call. Click it and 15–60 seconds later, you’ll watch your 30 Reels tab fill in.
How to start producing videos at scale
Now that the setup is complete, everything from here triggers from the 🐦 Reels Pipeline menu in your spreadsheet. This is how your basic spreadsheet becomes an application of sorts, able to generate and move information across the systems you need.
Monthly step 1: Update overrides
These help you quickly communicate any special variables or restrictions for the month ahead. Things like events, holidays, and more. You want to make sure your content promotes the upcoming stand up comedy event or doesn’t make a Reel that tells your followers to show up on the Fourth of July.
In the “⚙️ Config” tab, update rows B25–B29 with some of the month-specific variables such as dates you are closed and any special events to promo.
Monthly step 2: Generate 30 captions
Click 🐦 Reels Pipeline → 1. Generate 30 captions.
This tool reads your overrides and Brand Guidelines tab, then writes all 30 headlines, captions, hashtags, and topic assignments and fills the 30 Reels tab automatically. Remember, it’s using the “brain” when doing this, so the captions will avoid that generic copy that pervades so many posts.
It can take as long as a minute.
What’s happening when you click that button:
- The Generate 30 Captions button fires a webhook to Zapier.
- Your Zap then reads your Brand Guidelines tab directly from this sheet, makes three separate Claude calls (one for days 1–10, one for 11–20, one for 21–30, batching prevents Claude from falling into repetitive patterns and each batch gets escalating instructions to vary hooks).
- Merges the three batches into one set of 30, and posts them back to your sheet via the Web App URL you set in Config B18. Total time: 15 to 60 seconds. You’ll see the 🎬 30 Reels tab fill in.
Once the captions appear they will populate this sheet for easy editing.
Monthly step 3: Review and approve
Never outsource all of your creativity to AI. It can take you the first mile, but you should have eyes on everything it makes. This system streamlines that process.
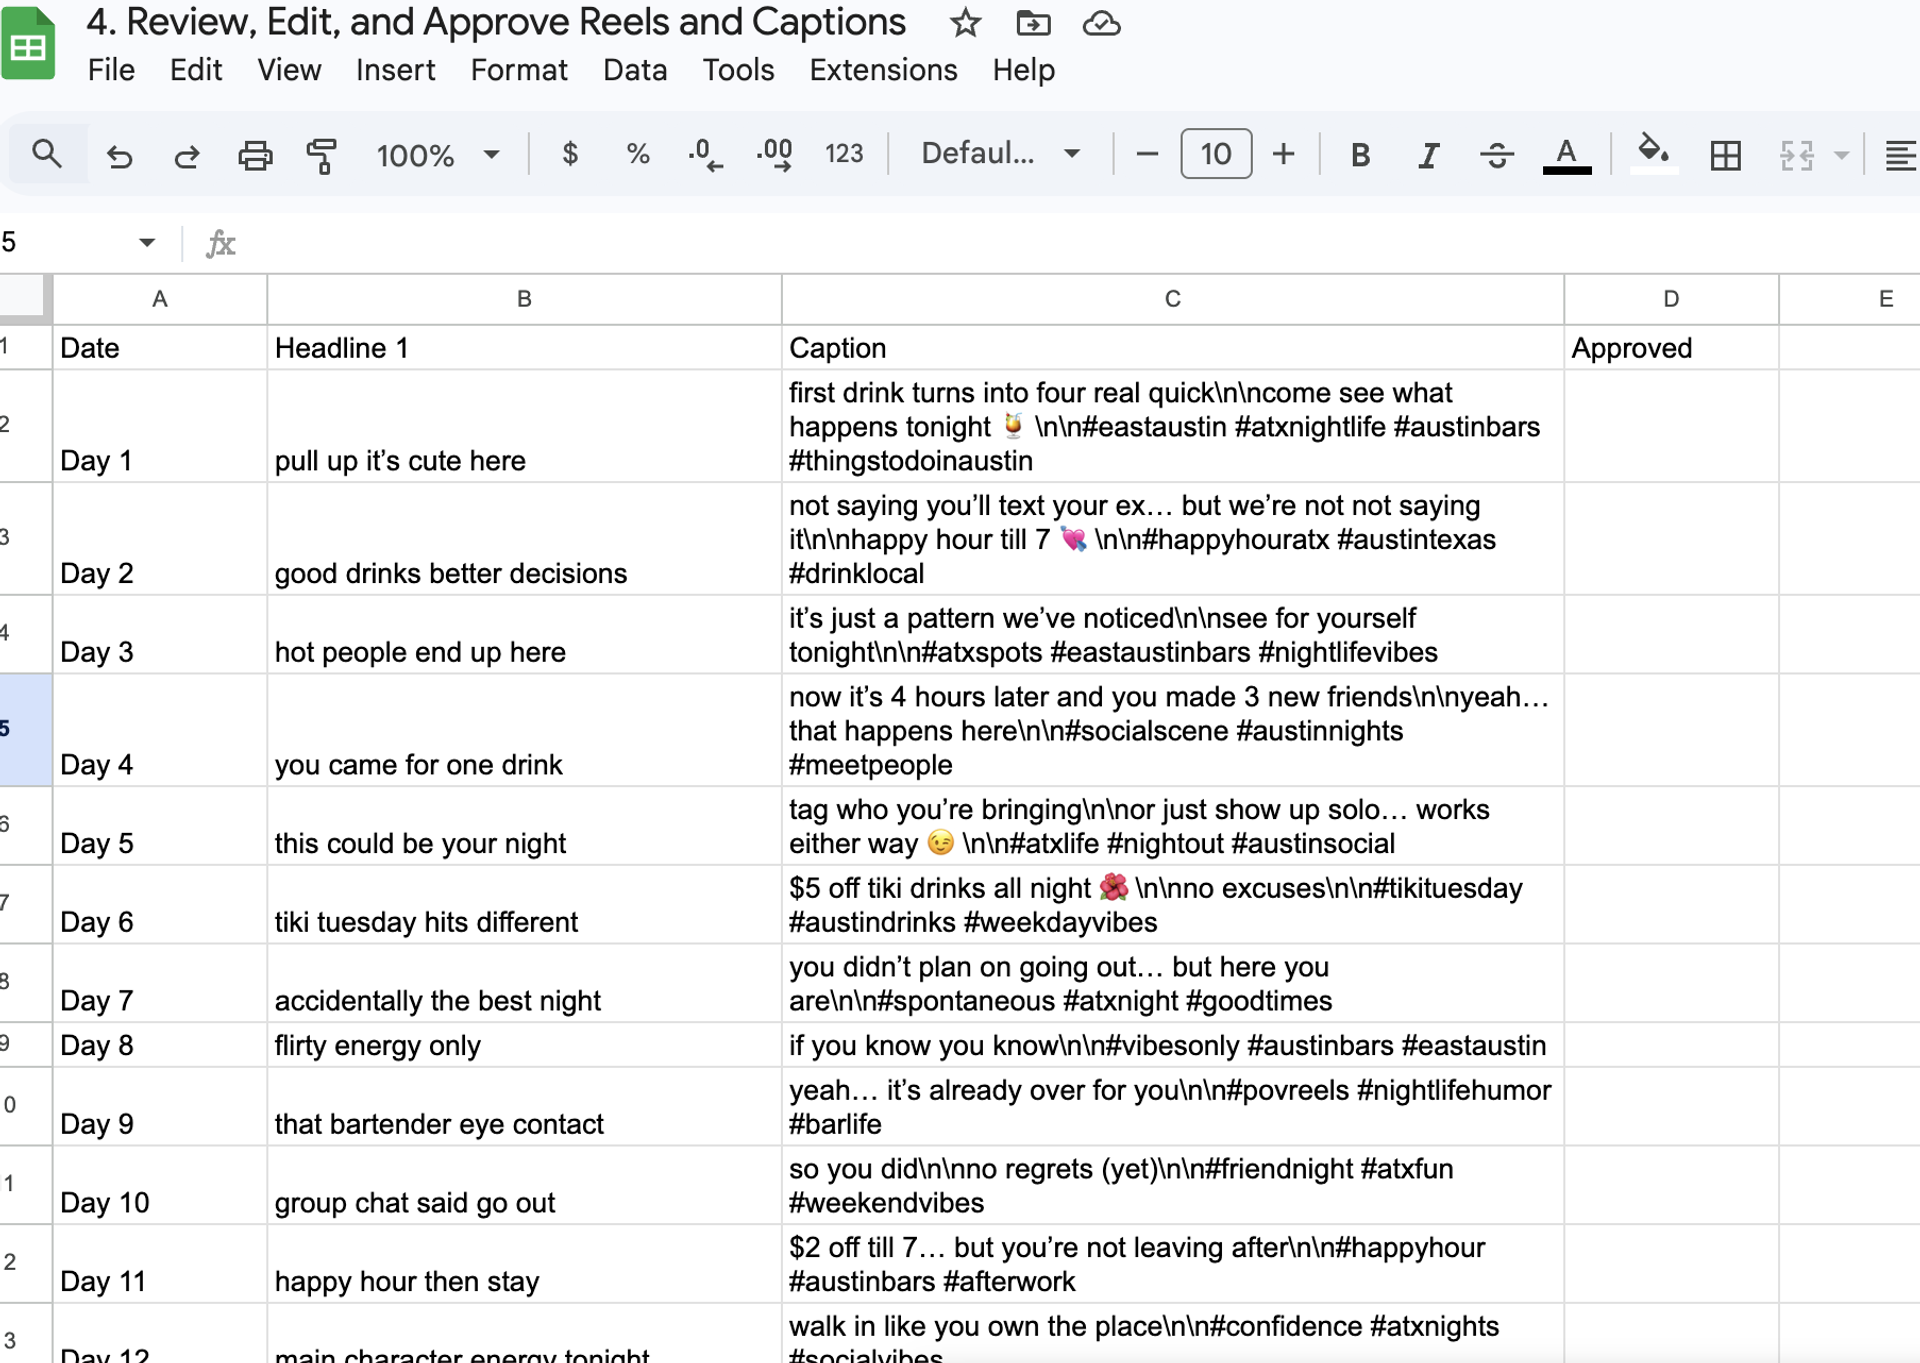
Go to 🎬 30 Reels. Read through each row. Edit any headline or caption directly in the cell. When a row looks right, set the Status dropdown to Approved.
The moment you click Approved on any row:
- The 📤 Buffer Export tab gets a new row with that caption, the scheduled posting date, and the posting time.
- The 🎥 Descript tab’s Section 4 gets a copy/paste-ready prompt for that specific Reel with the hook text from your Brand Guidelines and the headline from column E already filled in.
- Click Reels Pipeline → 2. Send to Descript to fire the API and auto-create projects. (Without Enterprise, just copy this prompt manually.)
Monthly step 4: Export your Reels from Descript
We need the actual video files to upload.
Go back to Descript—by now, your 30 Reels should have finished processing. When they’re ready, export all 30 compositions.
You have a couple of options:
- Local export: downloads directly to your computer (recommended for getting started)
- Google Drive export: useful if you want to eventually automate the workflow using Enterprise APIs.
You’ll end up with 30 files named R001.mp4 through R030.mp4 sitting in a folder on your computer.
Monthly step 5: Schedule reels in Buffer
Having 30 Reels isn’t very useful if you have to remember to wake up and post each one on the right day. Buffer helps you schedule them in bulk, so you can focus on responding to comments, monitoring results, and thinking of your next month’s content.
The 📤 Buffer Export tab already populated automatically as you approved each row. Open that tab and confirm all 30 rows are there.
Then go to File → Download → Comma-separated values (.csv). The CSV downloads to your computer in Buffer’s required format.
Open publish.buffer.com → click your channel → settings (⚙️) → General → Bulk Upload → upload the CSV. Buffer creates 30 drafts in a few seconds. Open each draft and attach the matching .mp4 from your Descript exports.
Schedule and celebrate. You’re done!
Monthly checklist
- Update Config with this month’s changes (if any)
- Reels Pipeline → Generate 30 captions
- Review 30 Reels tab—edit anything off-brand
- Set Status = Approved. Buffer Export tab and Descript Section 4 populate automatically.
- Descript. Enterprise API → projects auto-fire on approval. No Enterprise → copy prompt from 🎥 Descript Section 4 into Descript manually
- Review Descript projects—adjust text overlays—export .mp4s
- Export Buffer CSV
- publish.buffer.com → channel ⚙️ → General → Bulk Upload → upload the CSV
- Open each Buffer draft → attach the matching .mp4
- Save this month’s content document somewhere
- Update Config with next month’s campaign start date
Consistent content is the first step to more bookings
Creating content on its own doesn’t immediately result in revenue. It is, however, the step before the revenue: attention. The frequency of output keeps you top of mind and increases the chances the algorithm will bump one of your posts to more people.
After using this workflow we saw some early signs before revenue: more people tagging their friends, Reels being shared, a coinciding rise in bookings, and an increase in DMs.
This was the only change we made to our operations: we had the same staff, same food, and otherwise the same marketing. But once we got serious about Reels, the bookings and the revenue followed.
Resources to replicate these workflows.
More data from the AI Lab.
